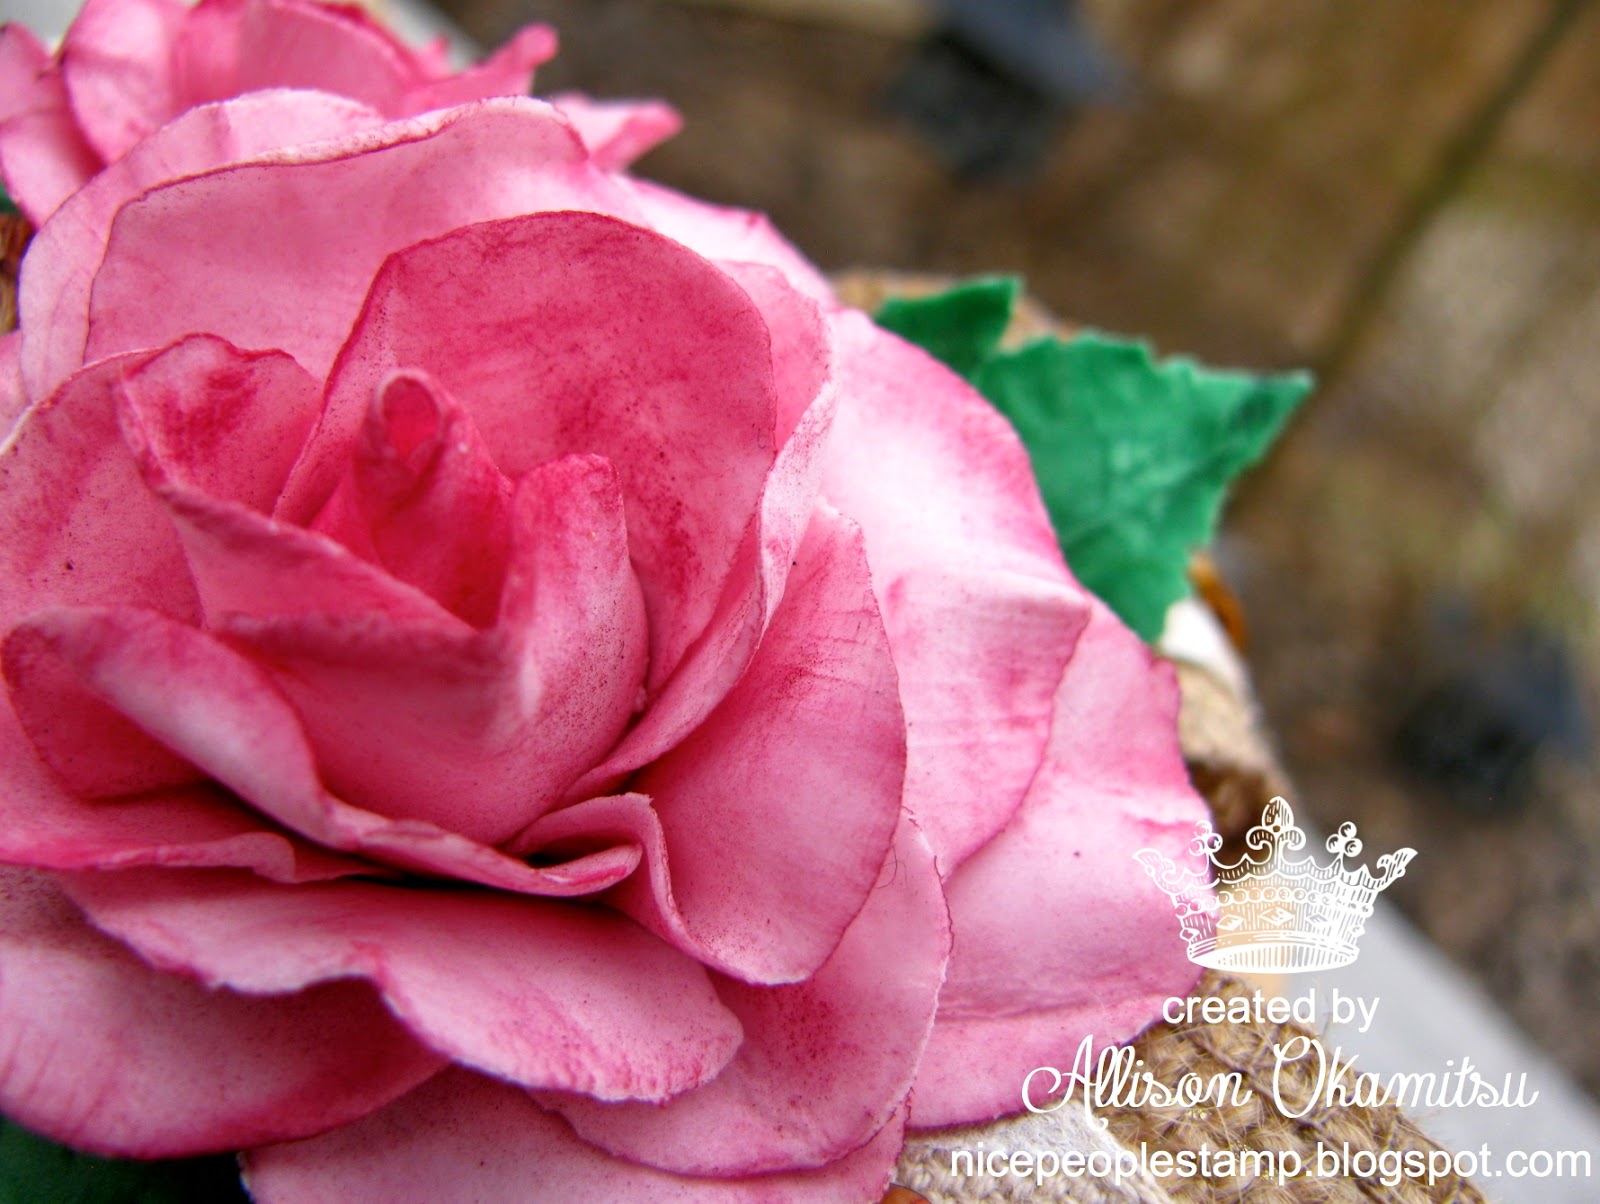
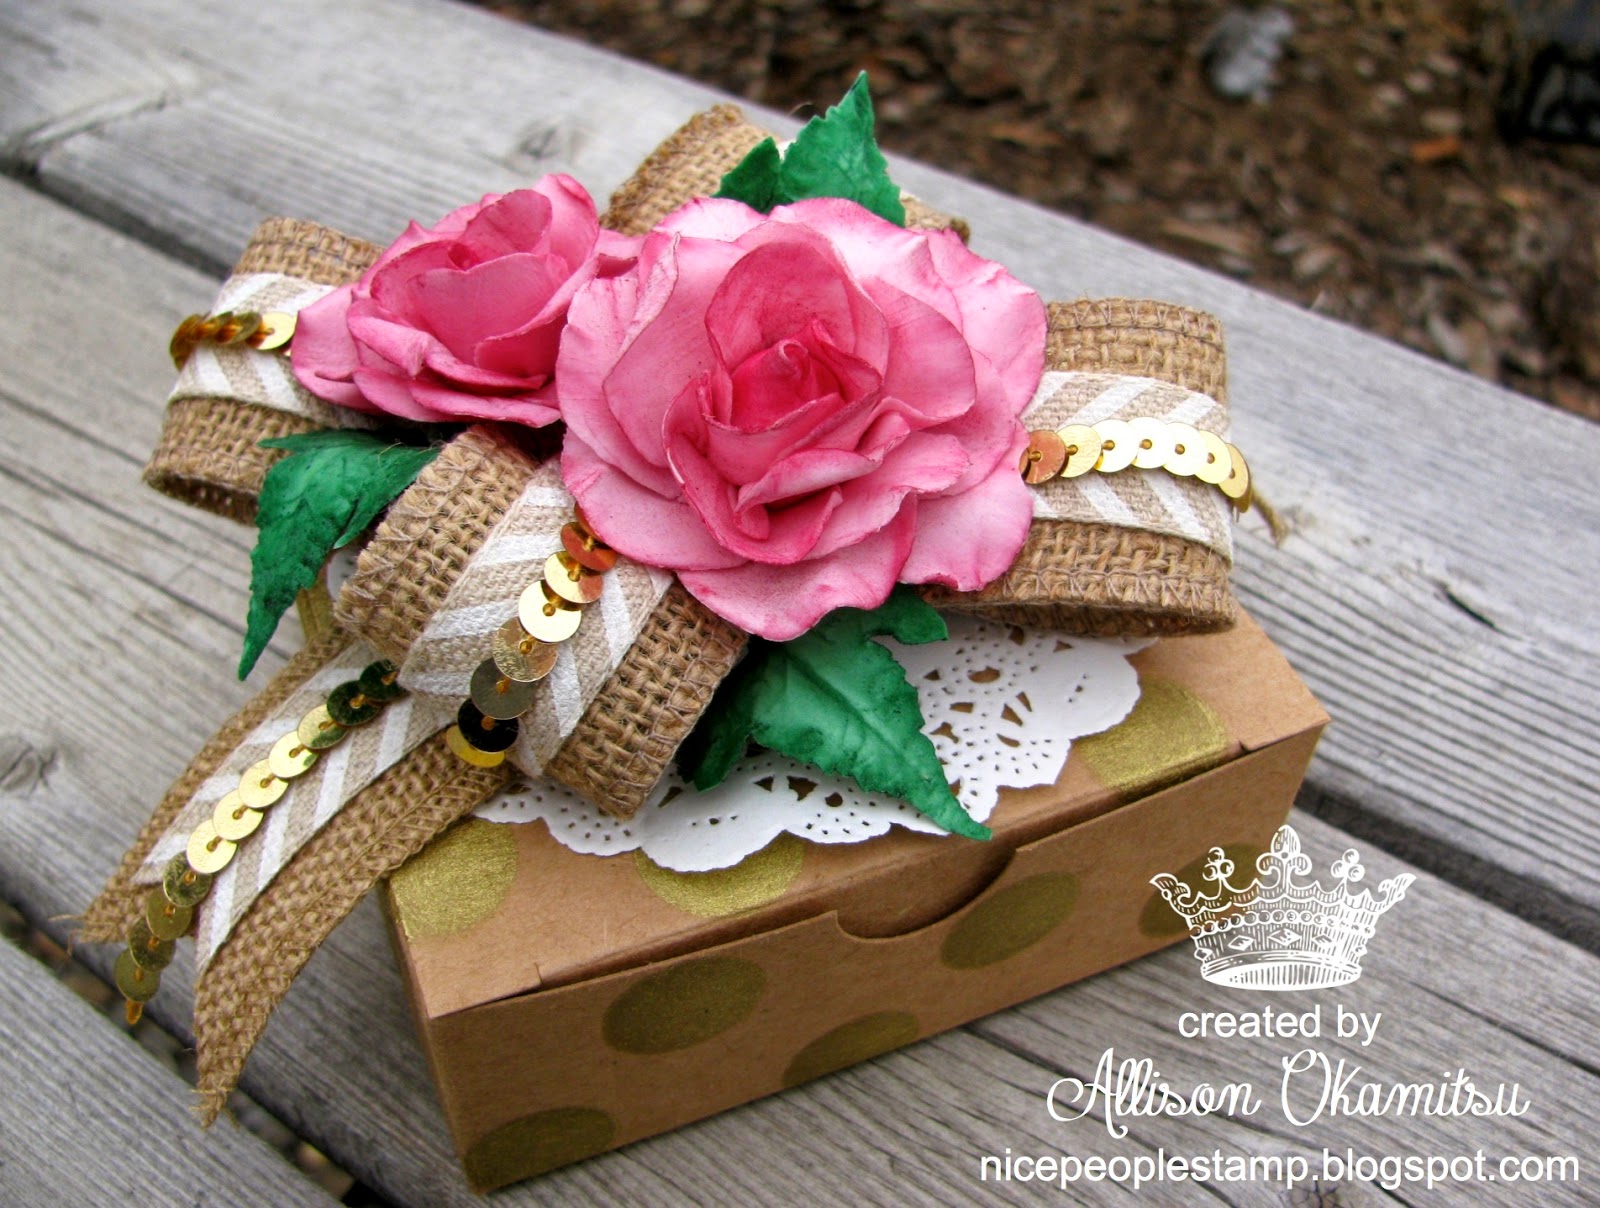
I shared this adorable gift box a few days ago as part of my Display Stamper Audition post, but I’m back today sharing more details on how I created these flowers with the Simply Pressed Clay.
If you’ve ever worked with pastillage or gum paste (sugar based doughs used for making decorations for cakes and pastries) you’ll find that working with the Simply Pressed Clay from Stampin’ Up! is actually easier. Although this clay can’t be eaten, it’s perfect for creating beautiful embellishments for your creative projects and it isn’t nearly as fragile as pastillage.
To create the roses:
- There’s a video I found for you here: http://youtu.be/pjyEU6fxixQ that shows you how to make the roses almost exactly as I make mine. The only difference is that in the video he uses wax paper, I like to do this step in the palm of my hand so the rose petals have a veined look. He’s also using fondant, but that doesn’t matter – you’ll use the Simply Pressed Clay.
- I like to colour my clay both before I form the flowers, and then I also add colour with my reinkers and a fine paintbrush after they are dry.
- Another video I found for you here: http://youtu.be/edQauqmSgM0 I used almost the exact same technique. You will need an ivy leaf cutter and veiner to make yours look like mine (just like she used in the video).
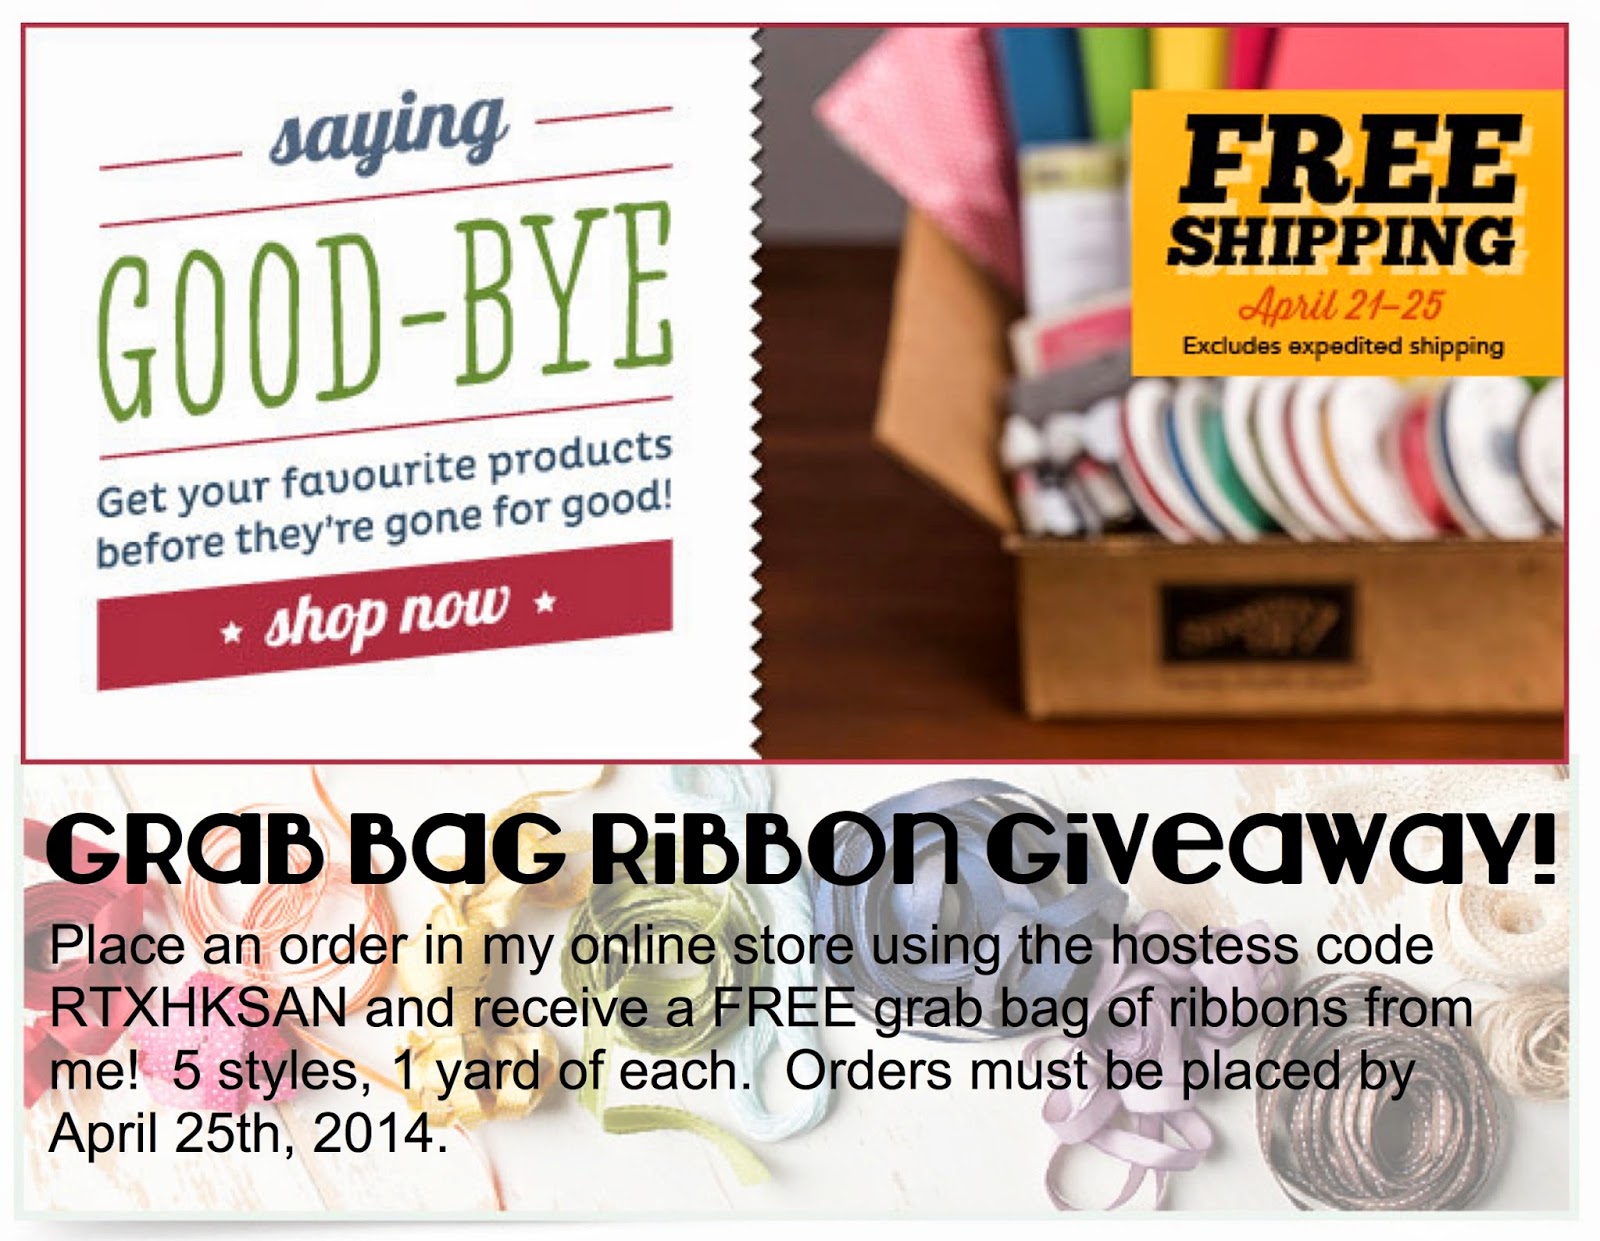
Today is the last day for FREE shipping and FREE ribbon with your orders! You must use the hostess code RTXHKSAN to qualify for the free ribbon offer.


Leave a Reply