
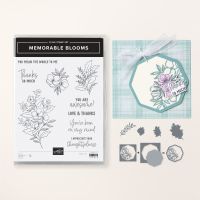
Hello crafters, card makers, scrapbookers, and stampers! I’m so excited to share this stained glass card with you today! I think this design is so striking and it’s all possible because of the dies in the Memorable Blooms Bundle!
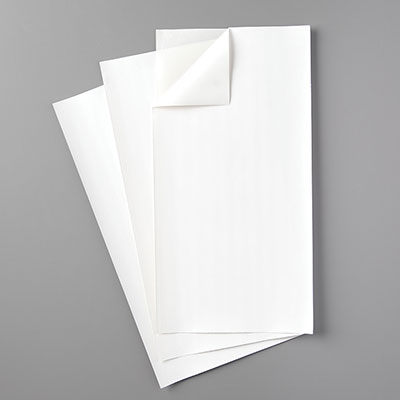
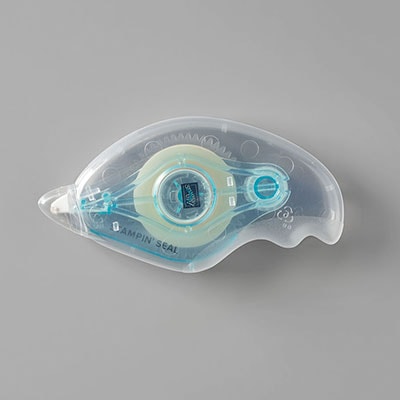
The key to having this stained glass technique come together seamlessly is the Adhesive Sheets. No messing around with liquid glue on these teeny tiny pieces!
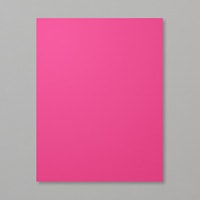
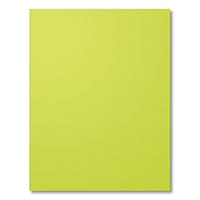
To make your own stained glass card you’ll first need to cut out a piece of Adhesive Sheet with the hexagon die from the Memorable Blooms Bundle. Next, die cut Basic Black Cardstock with the hexagon die and the inner layer die that has the flowers. Now place the Basic Black die cut piece onto one side of the Adhesive Sheet. This will make it so everywhere between the images is sticky. Then all you need to do is die cut the different colours of cardstock you’d like to fill in the image! I used Summer Splash, Pretty In Pink, Melon Mambo, and Lemon Lime Twist. If you’re more of a visual learner, head over to my Instagram where I’ll be sharing a reel on how I did this stained glass technique.

I’ve used some very bright colours for my stained glass card, but I think this same design would look stunning with colours that are more subtle. There’s lots of creative possibilities with this technique! I love the Memorable Blooms Bundle and I think you will too! You can shop for yours in my Canadian Online Store HERE.
Thank you so much for stopping by and I hope you enjoyed the project I had to share with you today! You’ll find a full supply list, with clickable links, at the end of this post. Thank you in advance for shopping with me!









Leave a Reply